
THE scenic DESIGN PROCESS

Matilda the Musical
Design is a series of steps through which we pursue a goal of creating what we hope will be a work of art.
The 12 Step Process
There are 12 steps to follow in the Scenic Design process. Check the DESIGNER DEADLINE & MEETING CALENDAR to see what step you should be on now.
- Commitment - 12 Weeks Before Opening
- Analysis - 12 Weeks Before Opening
- C.T.M.F. Analysis - 11 Weeks Before Opening
- Director Meeting - 11 Weeks Before Opening
- Scenery Design Requirement List - 10 Weeks Before Opening
- Question - 9 Weeks Before Opening
- Research - 9 Weeks Before Opening
- Incubation - 8 Weeks Before Opening
- Thumbnail/Rough Sketches - 6-7 Weeks Before Opening
- Renderings - 6 Weeks Before Opening
- Models, Drafts, & Paint Elevations - 4-5 Weeks Before Opening
- Presentations - 3 Weeks Before Opening
- Revisions - 3 Weeks Before Opening
- Final Approval & Hand It Over - 21 Days Before Opening
NOTE:
1. PLEASE MAKE SURE YOU TAKE PICTURES AND COPIES OF YOUR WORK. IT WILL BE VERY USEFUL IN THE FUTURE WHETHER YOU USE THEM PROFESSIONALLY OR NOT.
2. I STRONGLY ADVISE YOU TO NOT LOOK AT PREVIOUS PRODUCTION'S PICTURES, DRAFTS, RENDERINGS, ELEVATIONS, NOTES, AND OVERALL DESIGNS OF THE SHOW YOU ARE DESIGNING (DURING THE DESIGN PROCESS). ONCE YOU SEE THESE DESIGNS IT BECOMES VERY DIFFICULT TO COME UP WITH SOLID ORIGINAL DESIGN IDEAS.
3. STAY IN TOUCH WITH YOUR DIRECTORS THROUGHOUT THE DESIGN PROCESS.
1. Commitment
Scenic design is not as easy as "put a wall here and color it blue". There is effort, time and research put into it. You need to be commited to your show.
- If you commit your energies to an assignment, you are promising yourself that you will do the best work you can do.
2. Analyzing the Script

BARE: A Pop Opera
In this step you will:
- Read the script for enjoyment, as if it is your favorite book.
- Gather information that will help clarify and refine the definition of the show you are designing.
- Identify parts of the show that will require further research.
- First Reading:
- Read for pure enjoyment. Even if you think you know the script from a past production or from a show you've seen recently, read the script. Your recollection is most likely the production and not the script.You owe it to your current production to come in with an understanding of the author's intent and not the interpretation of another group of theater artists.
- Observe for story line, the characters, and their relationships.
- Read, but largely ignore, stage directions and design notes.
- Second Reading:
- This reading should focus on the design elements and requirements of the script.
- This information can be found in both the dialogue and the stage directions provided in the script.
- NOTE: Many published scripts include stage directions based on the Stage Manager's notes from the original production. You will need to make a judgement call on some of these issues as to their significance to the text.
- First Reading:
3. C.T.M.F. Analysis

- Come up with adjectives, a short description, and 3 pictures that define the script/story using the C.T.M.F Method below.
- Concept
- Broad general ideas about the show.
- Ex. Avenue Q's concept is adult life is not what its made out to be but we all get through it together.
- Broad general ideas about the show.
- Tone
- The attitude of the story and the way the show wants the audience to feel. It can be identified by words and phrases in the script.
- Ex. the tone of Avenue Q is comedic and serious at the same time. It deals with serious relatable issues in a funny and animated way.
- The attitude of the story and the way the show wants the audience to feel. It can be identified by words and phrases in the script.
- Mood
- The feeling you get while reading a story. This could be happiness, sadness, darkness, anger, suspicion, loneliness, or even excitement. You can think of mood as the atmosphere of the story.
- This can be different for everyone. One opinion can be that the mood is funny and anxious.
- The feeling you get while reading a story. This could be happiness, sadness, darkness, anger, suspicion, loneliness, or even excitement. You can think of mood as the atmosphere of the story.
- Feeling
- How the script makes you feel emotionally. Your perception on concept, tone, and mood and how you are affected by it.
- This one is completely up to you. Only you can know how you feel.
- How the script makes you feel emotionally. Your perception on concept, tone, and mood and how you are affected by it.
- Concept
It is important to note that these are all just examples. Show's C.T.M.F. will largely be different for each person.
4. Director Meeting
Meet with the Director to gather more information specific to this production. This meeting should not be confused with a designer meeting. This is just to find out a little more information about this specific production before you start designing.
sk the director:
- What mood and/or feeling are you going for in this production?
- Is there is a specific concept you are going for?
- Is there a specific concept or central theme you are going for and that may not be obvious in the script.
- Are there any added scenic requirements that are not listed in the script?
When you are done meeting with the director, combine your notes with the directors and move on to the next step.
5. Scenery Design Requirement List
- Next you need to make a list of all the required scenic elements.
- This should include the:
- Scenic Element (part of the set)
- Act (labeled with Roman Numerals)
- Scene(s) (labeled with Roman Numerals)
- Page Number
- Location Onstage
- Movement and/or Interaction
- Time Period
- Environment
- These details will help you throughout the scenic design process.
Sample Scenery Design Requirements List
6. Questioning
- To analyze effectively, it is necessary to shed fear - fear of criticism, fear of making mistakes, fear of seeming less than brilliant, fear of bring thought a fool or somehow different.
7. Research

- Using your C.T.M.F. Analysis, the new information from the Director, and your Requirements List It's now time to start your research.
- This research will help you come up with ideas of that you will include in your set and how it will look.
- This is not the design phase. This step is strictly for you to gather ideas for your design.
- DO NOT look at pictures/research from previous productions. When you do it will become practically impossible to come up with original designs and ideas.
- Types or research
- Background research
- Time period
- Envionmental History
- Historical Design
- Conceptual Research
- Devising multiple solutions to specific design challenges
- Overcoming the perceptual block
- Background research
8. Incubation
- A moment to focus on other things in life. Step away from your design.
- Your subconscious mind will use the time to sort through the information you've gathered and may construct a new solution or point you in a valid direction.
9. Thumbnail/Rough Sketches
- Create rough sketches to get the artistic ideas in your head onto paper.
- Start creating lines and shapes and play around with design.
- This step will help you create a rough draft of the ideas in you have head and from your research.
- Use as many pieces of paper as you need. The more sketches you have the easier it will be to come up with a solid design in the steps ahead.


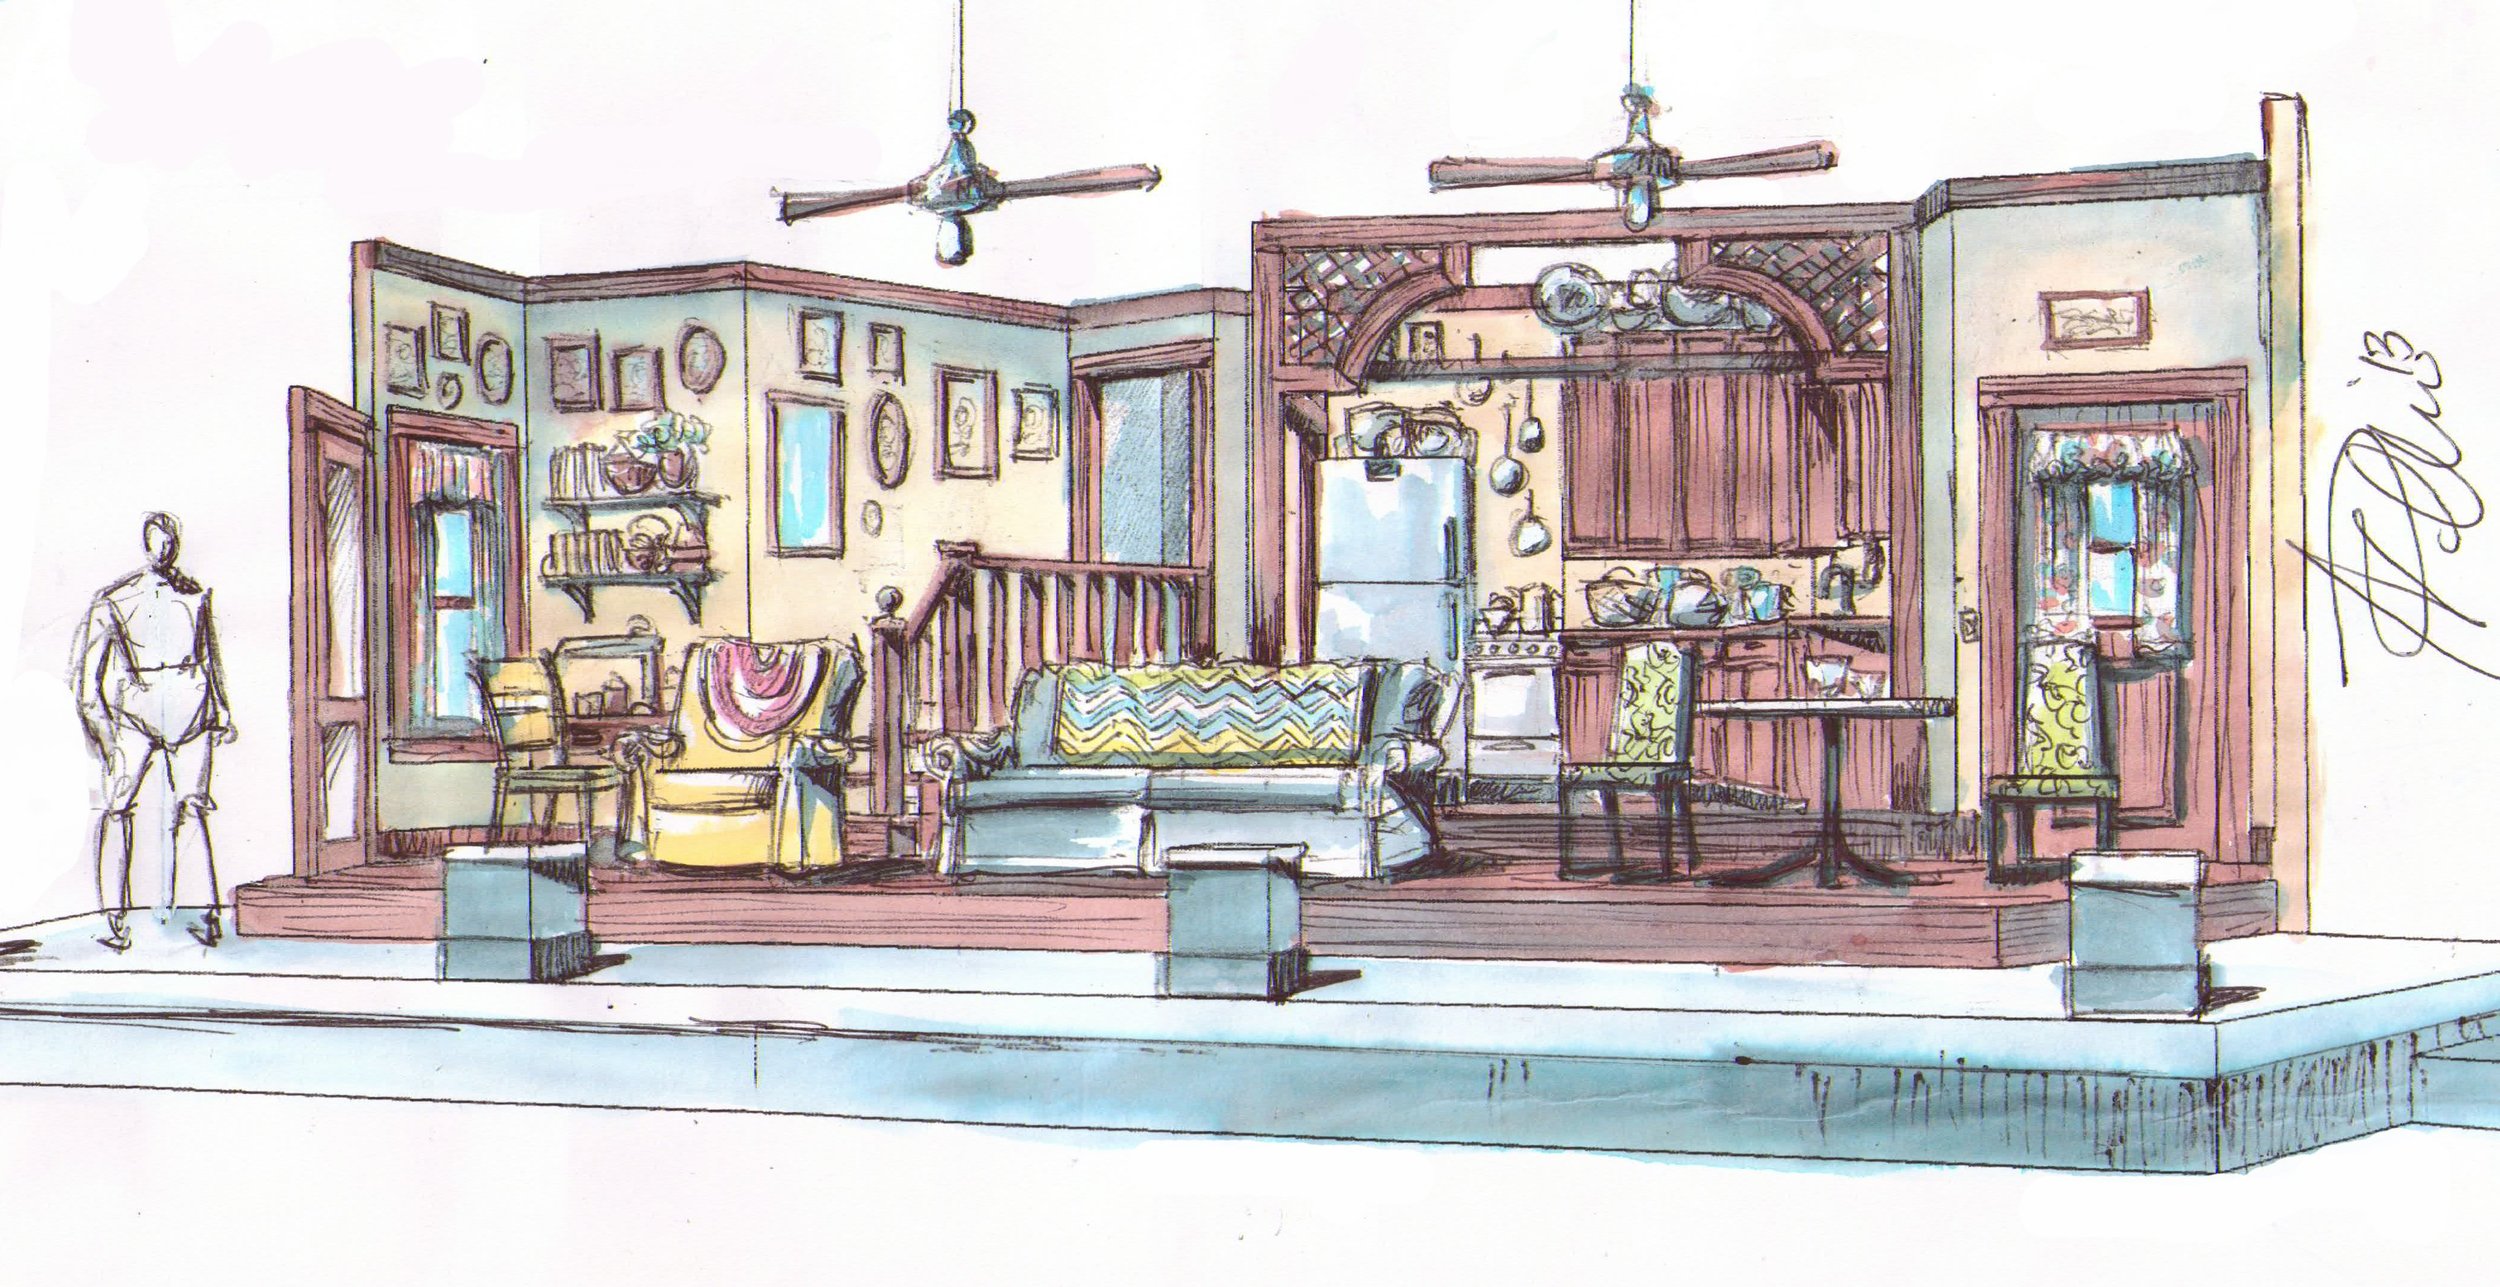
10. Renderings
- Renderings are full color refined drawings of your earlier sketches. They include more details to the design.
- Also called concept art.
- This is where you pull all your rough drafts, research, and C.T.M.F. Analysis, and Director's notes and put it all together in one design.
- Make perspective front-view renderings (color images/drawings) for every different scene in the show.
- You can use any means to create your renderings. It is best to use colored pencils, artist markers/pens, or computerized drawing software.
- Make these on quality thick paper with a proper layout. to present to your production team.

11. Models, Drafts, and Paint Elevations
- Create a white model or color model and drafts to lock in your design with three dimensional pieces and/or measurement drawings.
- (optional) Providing a physical model makes it easy to see what your set design will look like in a 3D tangible form.
- For more information on how to build a model of your set design, see your Scenic Artist Adviser.
- (mandatory) Creating architectural drafts lets your production team (master carpenter and construction crew) know the size of set pieces and where it will be on your stage.
- For more information on how to draw drafts of your set design, see your Scenic Artist Adviser.
- (optional) Providing a physical model makes it easy to see what your set design will look like in a 3D tangible form.
- You will also create Paint Elevations.
- Paint Elevations are full color pictures showing the paint designs on your set design.
- You will hand this over to the Charge Scenic Artist and they will use it to paint your set.
- IT IS VERY IMPORTANT THAT YOUR PAINT ELEVATIONS LOOK EXACTLY LIKE THE INTENDED FINAL PRODUCT.
- The Charge Scenic Artist and Scenic Artists will paint your set to the specifications of your paint elevations just as the Shop Foreman/Master Carpenter and construction crew would build your set to the specifications you gave them in your drafts.
- Similarly to your Renderings, you can use a varieity of tools to create your Paint Elevatiins.
- Note: Some drawing and painting supplies leave blank spaces, textures, and overlapping strokes. It is best to avoid this as it may alter the intended paint designs on the finished set.
- (optional) You can also print out swatches. These swatches are similar to the ones used in Costume Design. They show a more exact version of different textures, colors, and patterns that you may not have drawn in your designs.

12. Presentation
- Set/Request a meeting with the production and design team to present and discuss your ideas.
- This meeting's purpose is to work with all the designers on a show to make each others designs work well together.
- Ex. if you have a rough textured wall that actors in white tulle dresses walk next to then the dress may get caught on your wall. This is something you want to fix in this meeting.
- You will want as many materials possible to explain and illustrate your design such as:
- C.T.M.F.
- Research
- Sketches
- Renderings
- Model(s)
- Drafts
- Swatches
- Keep all of your designs in whether a 3 ring binder or have is professionally bound together (optional).
- Traditionally these meetings include the following people
- Producer/Artistic Director
- Director
- Production Manager
- Stage Manager
- Scenic Designer
- Properties Manager
- Technical Director
- Lighting Designer
- Costume Designer
- Makeup Designer
- Sound Designer
13. Revisions
- Make any changes that came up in the Designer Meeting.
- Redraw any Drafts of Color Elevations that needed to be changed.
- You do not need to redraw your sketches.
14. Final Approval & Hand It Over!
- When you're done revising your design have it checked by the Technical Theater Director (role may vary between theaters).
- When your final designs have been approved, turn the Drafts over to the Master Carpenter and the Paint Elevations to the Charge Scenic Artist.
- Make sure all your drafts, sketches, elevations, swatches, and models are neat, clean, binded (if applicable).